5 Gitlab Ci Config
快速构建.gitlab-ci.yaml
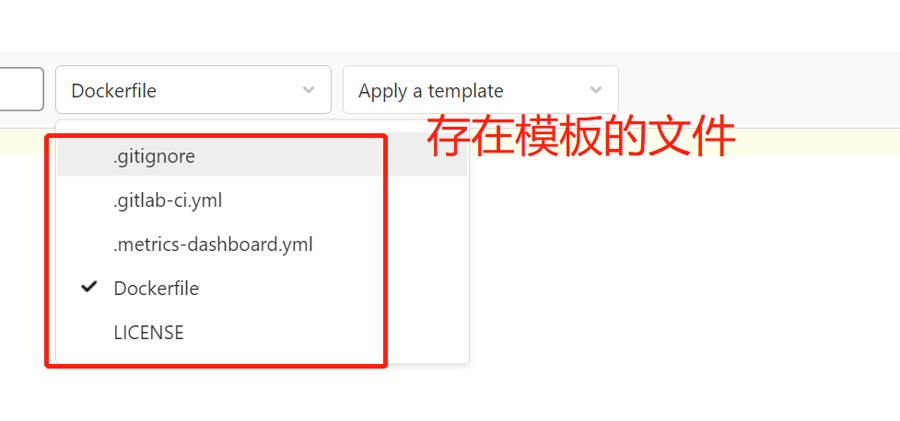
创建一个项目 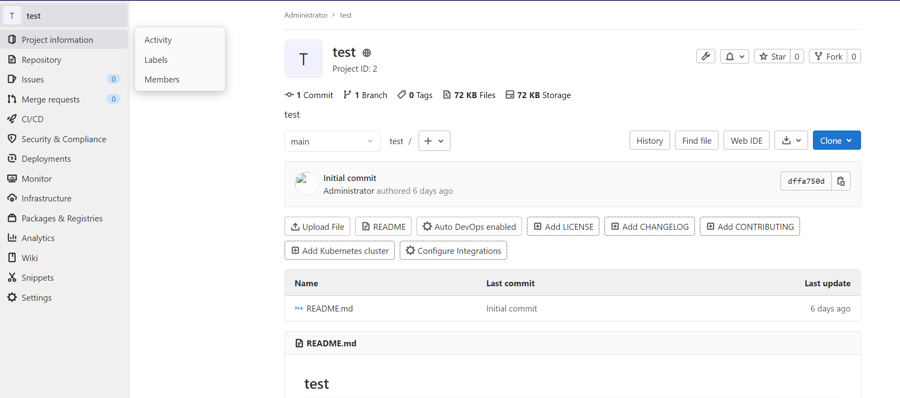 创建一个模板.gitlab-ci.yaml
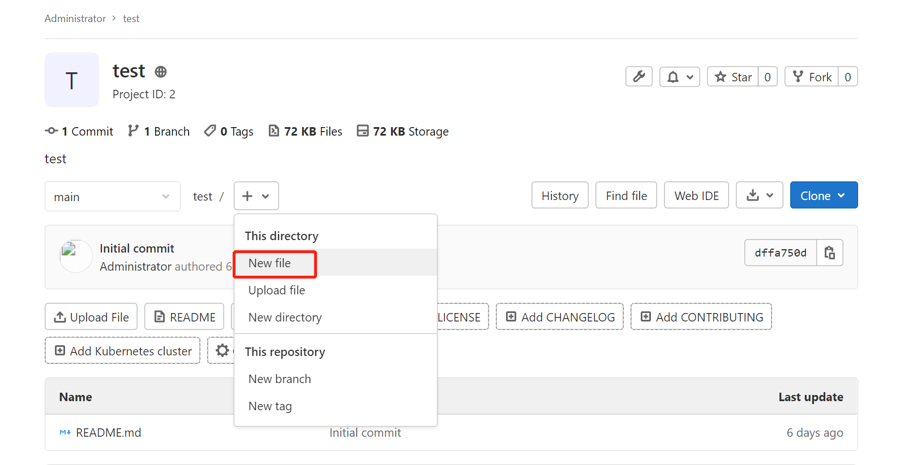
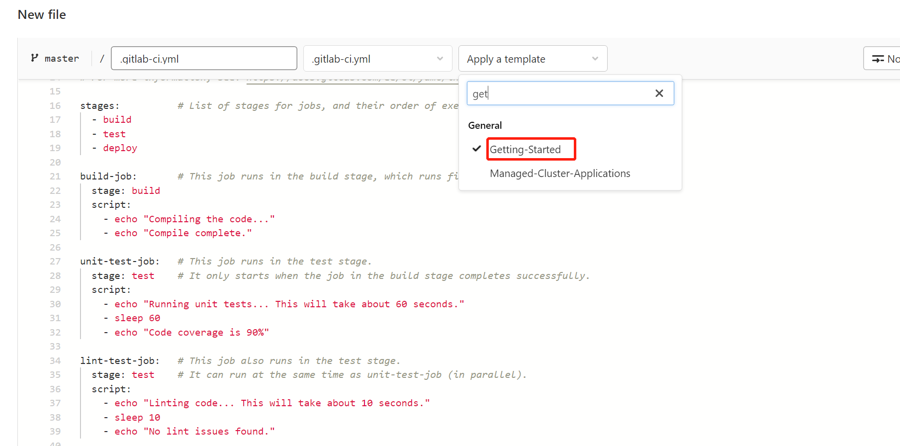
 选择Getting-started模板
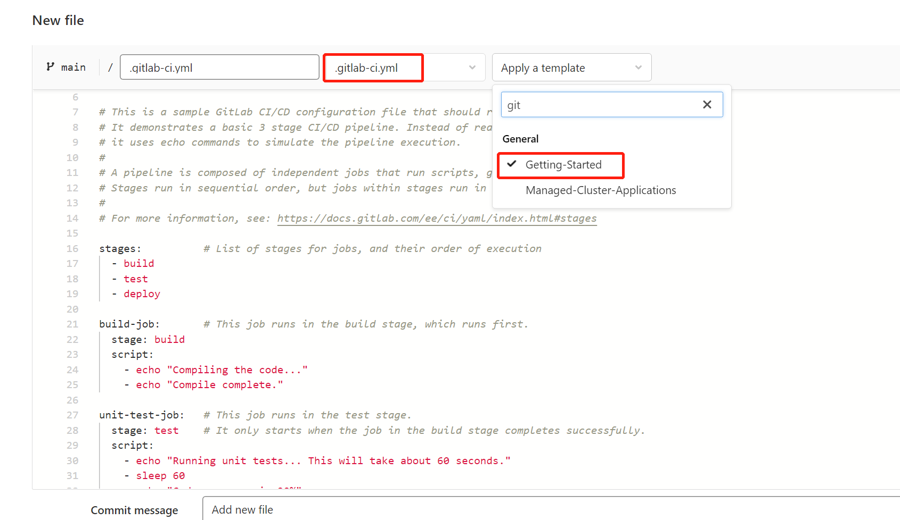
stages:          # List of stages for jobs, and their order of execution
  - build
  - test
  - deploy

build-job:       # This job runs in the build stage, which runs first.
  stage: build
  script:
    - echo "Compiling the code..."
    - echo "Compile complete."

unit-test-job:   # This job runs in the test stage.
  stage: test    # It only starts when the job in the build stage completes successfully.
  script:
    - echo "Running unit tests... This will take about 60 seconds."
    - sleep 60
    - echo "Code coverage is 90%"

lint-test-job:   # This job also runs in the test stage.
  stage: test    # It can run at the same time as unit-test-job (in parallel).
  script:
    - echo "Linting code... This will take about 10 seconds."
    - sleep 10
    - echo "No lint issues found."

deploy-job:      # This job runs in the deploy stage.
  stage: deploy  # It only runs when *both* jobs in the test stage complete successfully.
  script:
    - echo "Deploying application..."
    - echo "Application successfully deployed."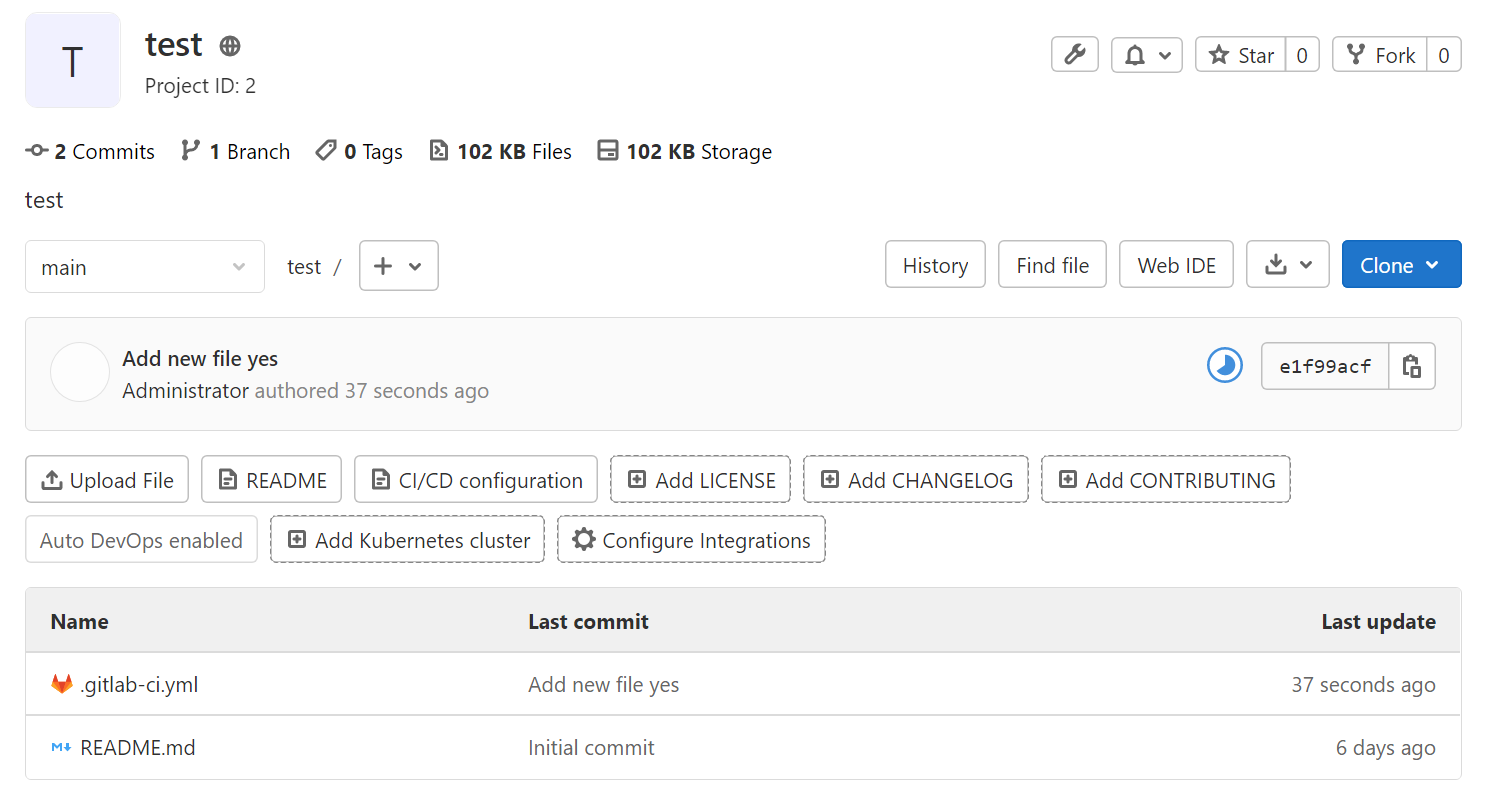
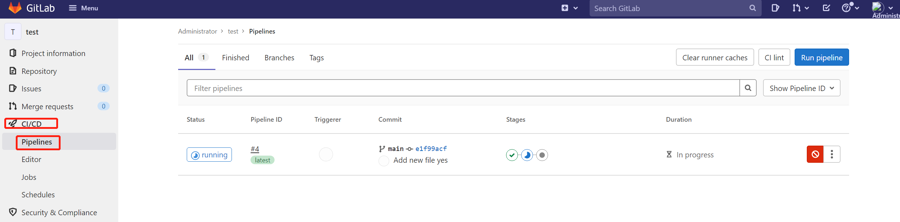
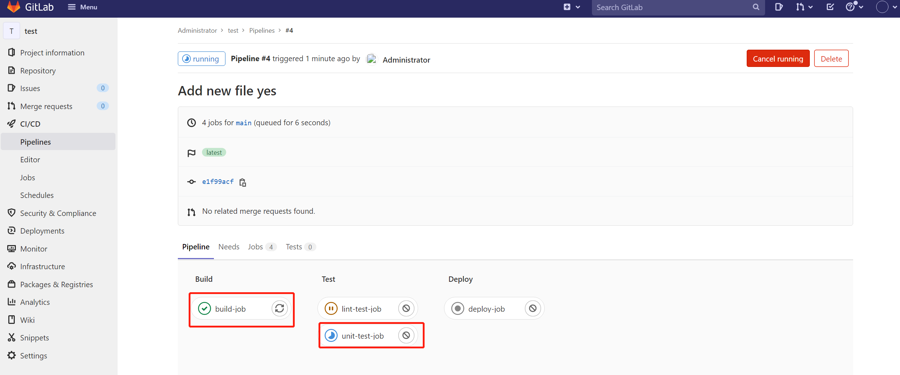
 全部正常。
全部正常。 
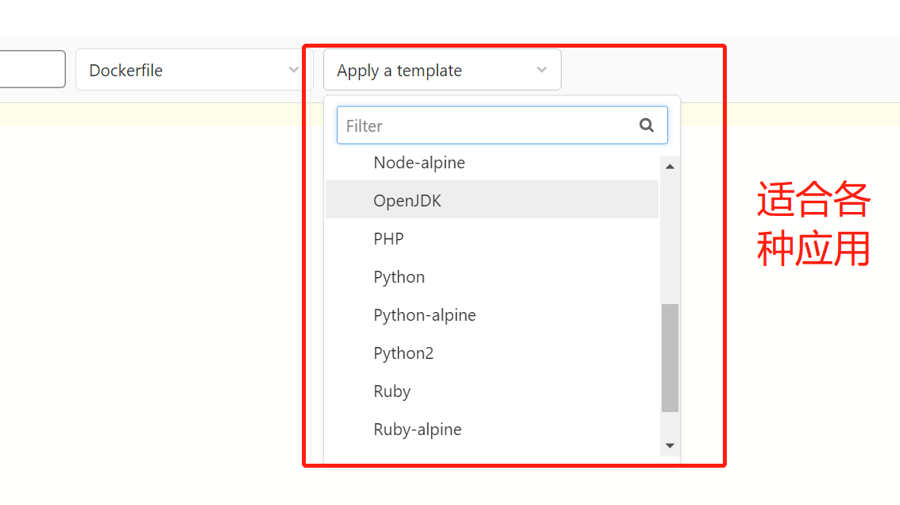 我们充分利用模板文件,可以为我们节省大量的时间。
python demo ci
推送项目至gitlab
安装gitlab-runner
选择一个本地部署的需求
 修改.gitlab-ci.yaml 我的本地环境是
ubuntu:8.04,本地可能没有flask,所以要在.gitlab-ci.yaml,装完就可以部署,两步走,即两个stage。 .gitlab-ci.yaml
创建一个Dockerfile模板 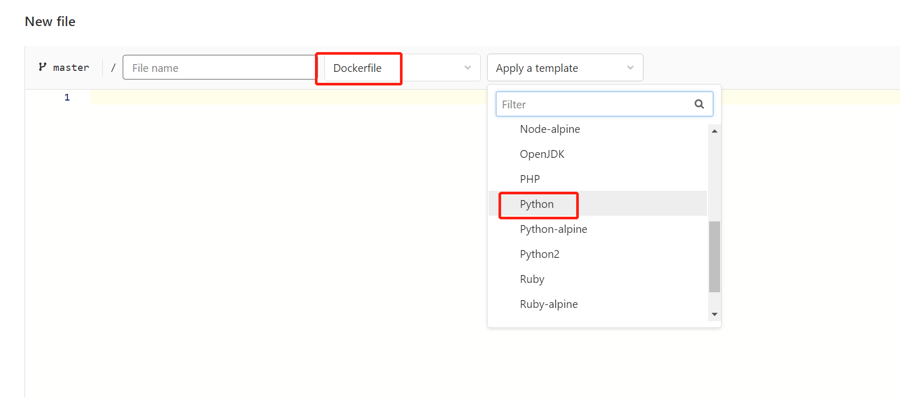
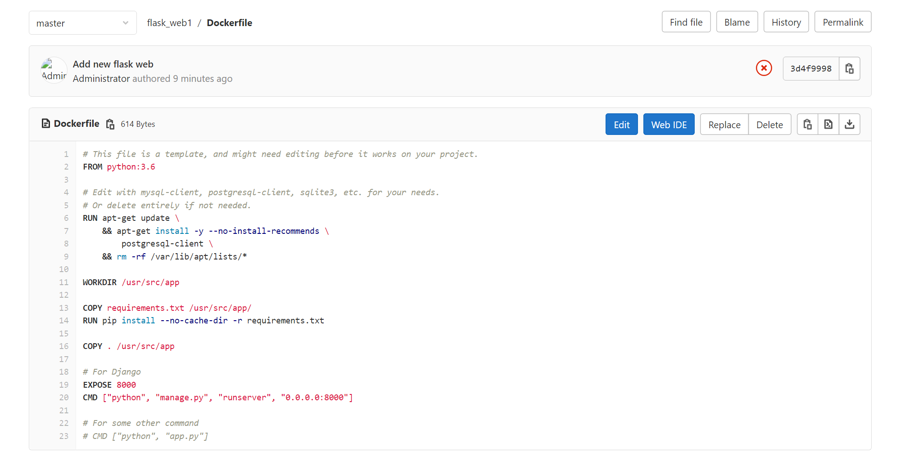 修改Dockerfile
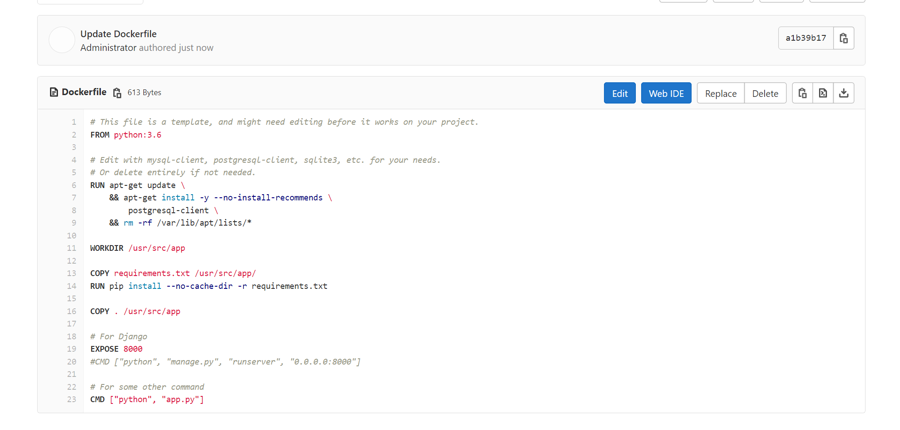
Last updated